10 Tips to Prepare the Home for Listing Photoshoot
There are specific things you can do to visually make your space really attractive in photos. By following these guidelines, you’re setting up both your photographer and listing to have the highest success rate.
Ready to list your home? Let’s look at the small steps that make a big difference when it comes to preparing a home to sell.
There are specific things you can do to visually make your space really attractive in photos. By following these guidelines, you’re setting up both your photographer and listing to have the highest success rate. If you’re not properly preparing the home to list, you’ll face risks of delaying the listing, needing reshoots, and many other hurdles.
1. Clear the driveway
One of the first things you need to identify before beginning photography should be asking yourself, are the all cars removed from the driveway? Is the pod storage unit sitting in the yard blocking the front of the house? Have you completed all your contractor work? This all ensures we can present the newly updated home properly.
Photo by FLOCUS Studio
2. Use a garage for storage
Use your garage as a storage unit. We typically don’t photograph garages as they are not viewed as a desirable space by most buyers. As such, it’s the best place for storage. Use it to hide garbage cans, trash, or large items, and of course you can pull your car in it as well.
3. Clear outside clutter
Remove all outside clutter and put away simple things like rakes, and roll up your lawn hoses. If you have outdoor furniture, set it up nicely and prepare it to serve dinner. The curbside appeal really matters.
4. Refresh landscaping
Mow your lawn and refresh your landscaping. Beauty is in the eye of the beholder and different buyers might have different preferences, but refreshed landscaping ahead of a photographer’s arrival will yield better photos and results.
5. Clear surfaces of personal items
Inside the home, clear all surfaces. If your countertops are where you charge your phones, store messages and notes, that should all be organized and out of the way before we arrive. The same is true with the refrigerator; make sure magnets with images of faces, friends and children are removed. This saves time and allows the photographer to focus on showcasing your house, rather than pulling down magnets, or photoshopping out faces.
Photos by FLOCUS Studio.
6. Tidy the bathroom
Make sure toilet seat covers in the bathroom are positioned down. This can be an unsightly area, and again, we want to be cautious of privacy issues and stowing personal items like medication, as well as toothbrushes and loofahs. Organizing these areas prevents the photographer from having to clear up people’s personal bathroom items, which is not a fun process.
7. Prepare windows and lights
Our window images are really beautiful when we have all the windows sparkling clean, and the window shades and blinds opened. The same goes for lighting. It’s easy to have bulbs looked at or replaced before we are there, as we take all our photos with the lights on, which makes for beautiful ambient lighting. We suggest to turn off all the ceiling fans.
8. Make a plan for pets
Make a plan for your pets on the day of photography. Don’t just lock them in a room and expect the photographer to work around a dog. We don’t want pet shadows in the photos.
9. Clean the whole house
Complete a normal home refresh before photography such as making your bed, clearing the countertop as discussed, and taking the time to make that final pass before the photographer arrives. This gives your home an opportunity to really be ready for photos.
10. Alert your neighbors
Make sure your neighbors are aware if you are listing your home and a photographer will be visiting, especially if drones will be utilized. Drones can cause tension and privacy issues, which we want to be cautious of. Communication and awareness are key to a smooth shoot.
Photos by FLOCUS Studio
Reference Source: Hochberg, Emily. “10 Ways Sellers Can Prepare Their Homes for Real Estate Photos”, Redfin, May 30, 2019
Sell Your House Fast: 7 People You Need on Your Team
Sell Your House Fast: Which 7 People You will need on Your Team to help sell your Maui home.
So, you’ve decided to sell your home. Congratulations! Before you start playing with a mortgage calculator to see how much you can afford on your next home, you’ll want to know how to sell your current home fast. Ideally, you’re looking to list your home, generate interest quickly from potential buyers, and in a perfect world, a bidding war will ensue and you will get more than the asking price for your house. But before all of this can happen, you’re going to want to spend some time gathering a team of people who can help you along the way.
Whether you’re a first time or experienced seller, having a talented team of professionals on your side can mean the difference between a quick and stress-free selling experience and one that isn’t. So before you put your house on the market, here are seven key people you’ll want on your team to help sell your house fast.
Photo Credit: FLOCUS Studio. Copyright reserved.
1. Real Estate Agent
Selling a house can be a complex process. That’s why the first person you’ll want by your side is a real estate agent. The job of a listing agent is to guide you through the entire home selling process. This can include necessary house preparations and repairs, pricing the home correctly, setting up the staging, executing a strategy to promote your home, negotiating with the buyer, and closing on the home.
But to do all of this you don’t want just any agent – you need the right agent for you. Well, you’ll want to find someone who will super-serve you, sell your house fast, and for the most money. So it’s important that you do your research and read reviews to make sure you’re choosing the best person for this important role. Free service to check what’s your Maui Area Property Worth.
Our Maui preferred agent is Daniel Rude at dreams2REALITY Group. Daniel has been involved in 200+ real estate transactions on Maui and served his clientele with a relationship approach.
Photo Credit: FLOCUS Studio. Copyright reserved.
2. Home Inspector
It’s true that buyers are typically going to have a home inspection conducted before they agree to purchase the property, but what if you were to beat them to it? Hiring a home inspector to do a pre-listing home inspection is a proactive approach to getting your house ready to sell and it offers some advantages to sellers that you may not be aware of. With the pre-listing inspection, you can find out the exact condition of your property, what issues and repairs need to be addressed beforehand, fix them, and then focus on the next task of selling your home fast.
Also, knowing the condition of your home can be an asset during the negotiation phase. As you may already know, buyers often use their home inspection as a way of getting concessions from sellers, such as asking you to drop your list price. If you’ve already addressed these repairs, it is less likely that anything new will come up and impact your negotiation.
3. House Cleaner
Having a home that is fresh, clean, and inviting for potential buyers is crucial when selling. If buyers are interested in your home, they’ll open closets, explore cabinets, and they might move furniture around. The difference between inspecting a sparkling clean house and a place that hasn’t been thoroughly cleaned can make or break a deal. That’s why your home needs to be spotless from top to bottom. Although you can clean your house by yourself, hiring a professional cleaning service might prove helpful during what is likely to be a very busy time for you. Also, professionals have experience with the thorough cleaning needed to sell a house. They will use high-quality products and equipment to deep clean your entire home – even the nooks and crannies that you didn’t know existed.
It’s also important to consider the timing of cleaning your home. You don’t want to wait to hire a professional cleaner after your home has been listed. It is something you should invest in before your home is on the market, so the listing photos can reflect your clean and decluttered home. You should also consider having your home cleaned regularly while it’s on the market. It could take some time to sell, and if you’re living in it during that time it may be extremely difficult to keep it in pristine condition.
Photo Credit: FLOCUS Studio. Copyright reserved.
4. Home Stager
Staging is one of the most important parts of the selling process. Contrary to what many may think, home staging is about more than just preparing a house for sale. There’s an art and a science to staging a home that goes above and beyond simply cleaning and decluttering a space. Staging is about making the home look larger, brighter, cleaner, and more welcoming. It is about selling a lifestyle that buyers will experience if they own the home. In fact, research shows that 83% percent of buyers’ agents said staging a home made it easier for a buyer to visualize the property as a future home.
Professional stagers know exactly how to showcase a space using furnishings, color, artwork, and accessories. They are able to offer prospective buyers a glimpse into how each room can be utilized. When all is said and done, a home stager will be key in helping you transform your space to appeal to the greatest number of buyers, which can help sell your house fast.
5. Real Estate Photographer
The key to successfully listing and selling your home quickly is the photos. Today, more than ever before, online browsing is a critical part of the home buying process. Buyers can tour your entire home without ever leaving their couch and if they aren’t sold on the images that they see online, they will move on. That’s why having professional real estate photos of your home is so important. You may think you can take some of these photos yourself, but research shows hiring a professional photographer can help homes sell faster and for more money. Just remember, the better you represent your house online, the faster it will sell.
In addition to traditional real estate photography, consider adding in aerial photography – which can show off your entire property, a scenic view, and the surrounding area. Maybe you’re selling a home with a beautiful view up in Kula or oceanfront property in Makena. An aerial shot can easily put into perspective the full scope your home has to offer.
Our preferred Real Estate Photographer on Maui: Flora from FLOCUS Studio. Flocus Studio provides comprehensive real estate photography services including listing photos, aerial photos, videos, 3D Virtual Tours, and virtual staging.
Photo Credit: FLOCUS Studio. Copyright reserved.
6. Painter
Painting your home before you sell it may sound like a hassle, but homebuyers may be turned off by your turquoise bathroom, or your teenager’s darkly colored bedroom. Hiring a professional painter to give the inside and/or the outside of your home a fresh look with neutral, bright colors will be more appealing to a wide range of homebuyers, both in-person and online. It may also help sell your house fast when your property is one of the nicer looking available homes on the market.
Our preferred local vendor: Pipeline Painting offers high-quality interior and exterior paint jobs on Maui. Call Jef today for a free estimate (email).
7. Handyman
There will be few things more off-putting to a prospective homebuyer than touring a property with chips taken out of the walls, broken fixtures, or loose floorboards. So before listing your home, you’ll want to make sure you’ve made the necessary repairs and renovations. Sure, there will be projects you can easily complete yourself, but what if you don’t have the time with everything else going on or a repair project is over your head? That’s where a handyman comes in. A handyman, or handyman service, is a skilled jack-of-all-trades who can help you handle a wide range of repairs in your home.
Additionally, before you can sell your home, it will likely need to go through a home inspection. A professional home inspector will give you a home inspection report, which is usually a list of any issues needing attention. Handyman services can be extremely helpful for addressing problems on that list and making sure any repairs are done up to code.
Photo Credit: FLOCUS Studio. Copyright reserved.
Selling a home and navigating the housing market can be a stressful experience. But having the right people on your team during this journey – all working together to help sell your house fast – can make all the difference. So before you list your home, consider bringing these seven people onto your team as their advice, expertise, and guidance can help be invaluable during the selling process.
Content Credit: Article reference
Do you know 3D tours and Video Walkthrough will make a difference on your listing search results?
Tips and tricks to show your 3D Virtual Tours and Video walkthrough properly on different listing websites. Don’t waste your 3D tour or video content, check if you have done these steps for your active listing now!
With the Covid-19 pandemic going on, many agents are investing in Video Walkthrough and 3D Virtual tours.
However, how many of you actually utilize your media content and make good use of them after you receive the video or 3D links from your photographers? What did you do with the links?
My goal is not just to help you get the 3D tours or video walkthrough, but set you up for success by guiding you to promote your listings on different platforms. Especially if you are already paying to get the media content, you want to make sure they are showing on the listing websites!
I recently did a research by checking different listing websites. I notice some sites do not automatically populate your content from MLS.
Here are some tips on how you want to make sure your links are posted properly:
First step: Post to MLS
This is pretty obvious, but just a friendly reminder - Make sure to post your Branded Video walkthrough, Unbranded Video, and 3D Virtual Tour to the appropriate places:
Second Step: post links to your company website listing system
Companies like Keller Williams have their own back end system that you can upload your 3D Virtual Tour and Property Video links. Their system connects to all other listing sites. If you are not sure, check with your brokerage or someone tech-savvy from your team.
Third Step: The secret of Zillow
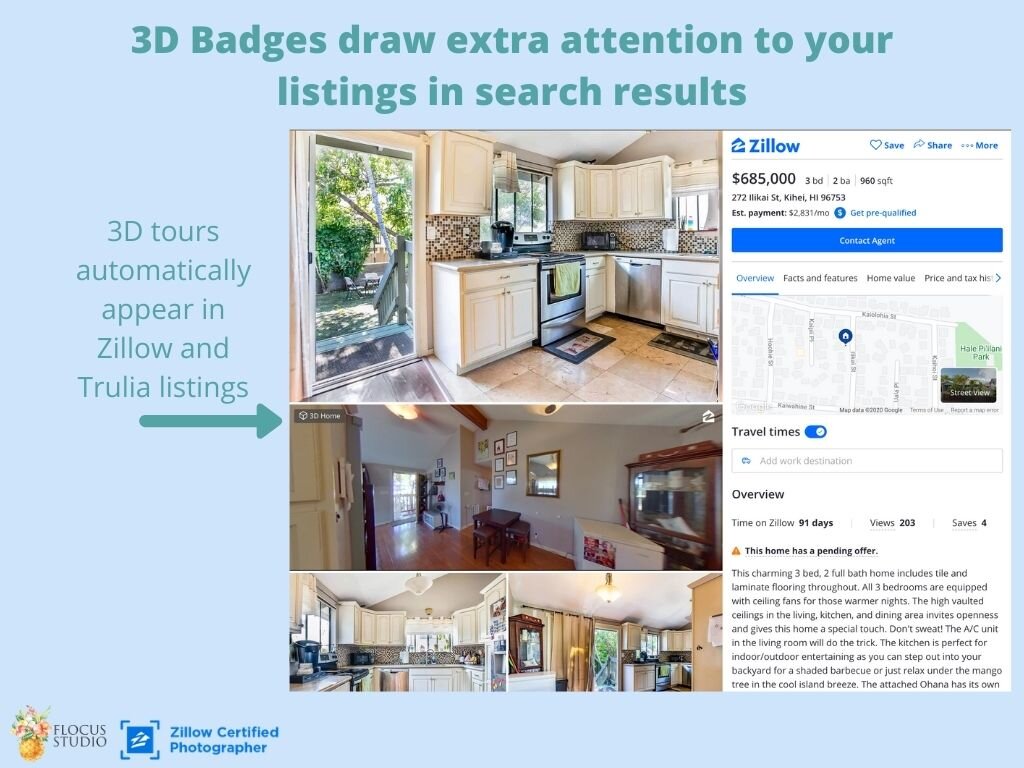
Do you ever notice some listings on Zillow shows an icon on the top left corner of the listings “3D Homes” or “Video Walkthrough”? This feature allows users to notice your listings and help your click ranking.
If you check your listings that has 3D tour or Videos on Zillow, this icon is probably not showing, unless you are doing it through Zillow Agent’s hub or with the help of Zillow Certified Photographer.
Notice the icon showing on your listing in search page
3D Virtual Homes
As a Zillow Certified Photographer, when I create your 3D Virtual Tours, I will connect the tours with your listing on Zillow so your listing will have the 3D Home icon.
This is a specialty that I can offer as a Zillow Certified Photographer.
As you can see, the 3D Home icon will automatically be shown and the tour is embedded to your listings. You will also receive an unbranded link to your 3D Virtual Tour for MLS.
Video Walkthrough
Currently, Zillow is NOT showing your videos or Virtual Tour automatically even if you upload to MLS, you will have to manually upload your video to Zillow. Do not forget this step! (Unless your photographer is good enough to remind you OR if they are doing it for you :P)
And here is the Zillow specified Video format requirements:
Keep video under 2 minutes in length and include content that showcases the unique features in a home and demonstrates how the rooms connect to one another.
Branding Guidelines:
Branding is allowed but should be limited to a maximum of 15 seconds at the start of the video or 15 seconds at the end of the video, so that the focus is on the listing. An occasional mention of the agent or brokerage name is allowed in the audio. Agent narrated voice-over throughout the video is acceptable.
The following are not permitted:
Videos that are not of actual properties or lots/land
Videos focused on the agent or brokerage
Videos that are in portrait mode. Videos must be shot in landscape mode.
Photo slideshows
Constant watermark, logo or lower-third with name or other contact info, other than in the first 15 seconds and last 15 seconds of the video.
Videos that are created from 3D renderings or computer simulations.
Links to your third party 3D tour can be added via your MLS or broker feed.
Videos of commercial properties or offices
Videos that primarily display text
Videos that display foul, explicit or inappropriate content
Videos that include copyrighted content (music, for example)
Videos that are larger than 500MB in size
Videos over 10 minutes long
I hope this article is helpful to agents who are new to using 3D virtual tours and Video Walkthrough. There is a lot more tricks and tips that I couldn’t cover them all here.
If you have any questions or need help with 3D tours or video walkthrough, give us a call or email. Flocus Studio will be happy to guide you and help you use your listing media content properly.
7 Simple Steps to Set Up Your Maui Real Estate Photoshoot
7 simple steps to help you effectively set up your photoshoot in Hawaii with a Free Real Estate Photography Checklist.
Agents, when you hire a real estate photographer, how can you make sure the photographer capture what you actually need for your listing?
What do you need to know before asking your photographer to go to your listing property to take pictures?
Here are 7 simple steps to help you effectively set up your photoshoot in Hawaii. Download a copy of the checklist HERE.
Step 1. Know what images you need
First, you need to find out what is the property’s physical selling point.
Think Outside:
Location, location, location - Do you want to highlight the close access to the ocean? Or the community of the property?
Are the facilities of the complex a bonus? (i.e. concierge, gym, spa, swimming pool etc.)
What is nearby? (Schools, park, beach, restaurants)
Think Inside:
Do you want to highlight the view from the house?
Does the kitchen have modern appliances?
Is the lanai spacious and have a nice sunset view?
Make a list of shots that you want to make sure your photographer will not miss out. Most photographers know what shots to take by experience, but if you have certain ideas, make sure they do not miss those shots by communicating with them in advance.
Step 2. Communicate your requirements to your photographer to decide a good time for photoshoot
Find out when your property needs to be listed and schedule enough time for a photoshoot.
If you want sunset shots, don’t schedule your shoot in the morning.
You can also send out a standard photography specification requirement guide to your photographer. It can include what shots required, number of shots and file size specification.
We have created a FREE real estate photography checklist that you can use with your photographer.
Step 3. Communicate to the property manager or owner to make sure the property is cleaned and in photo-ready condition.
Well…we all know some houses just need a proper clean and reduce the clusters! If needed, hire a professional cleaner.
Step 4. Determine whether you want to hire a staging company
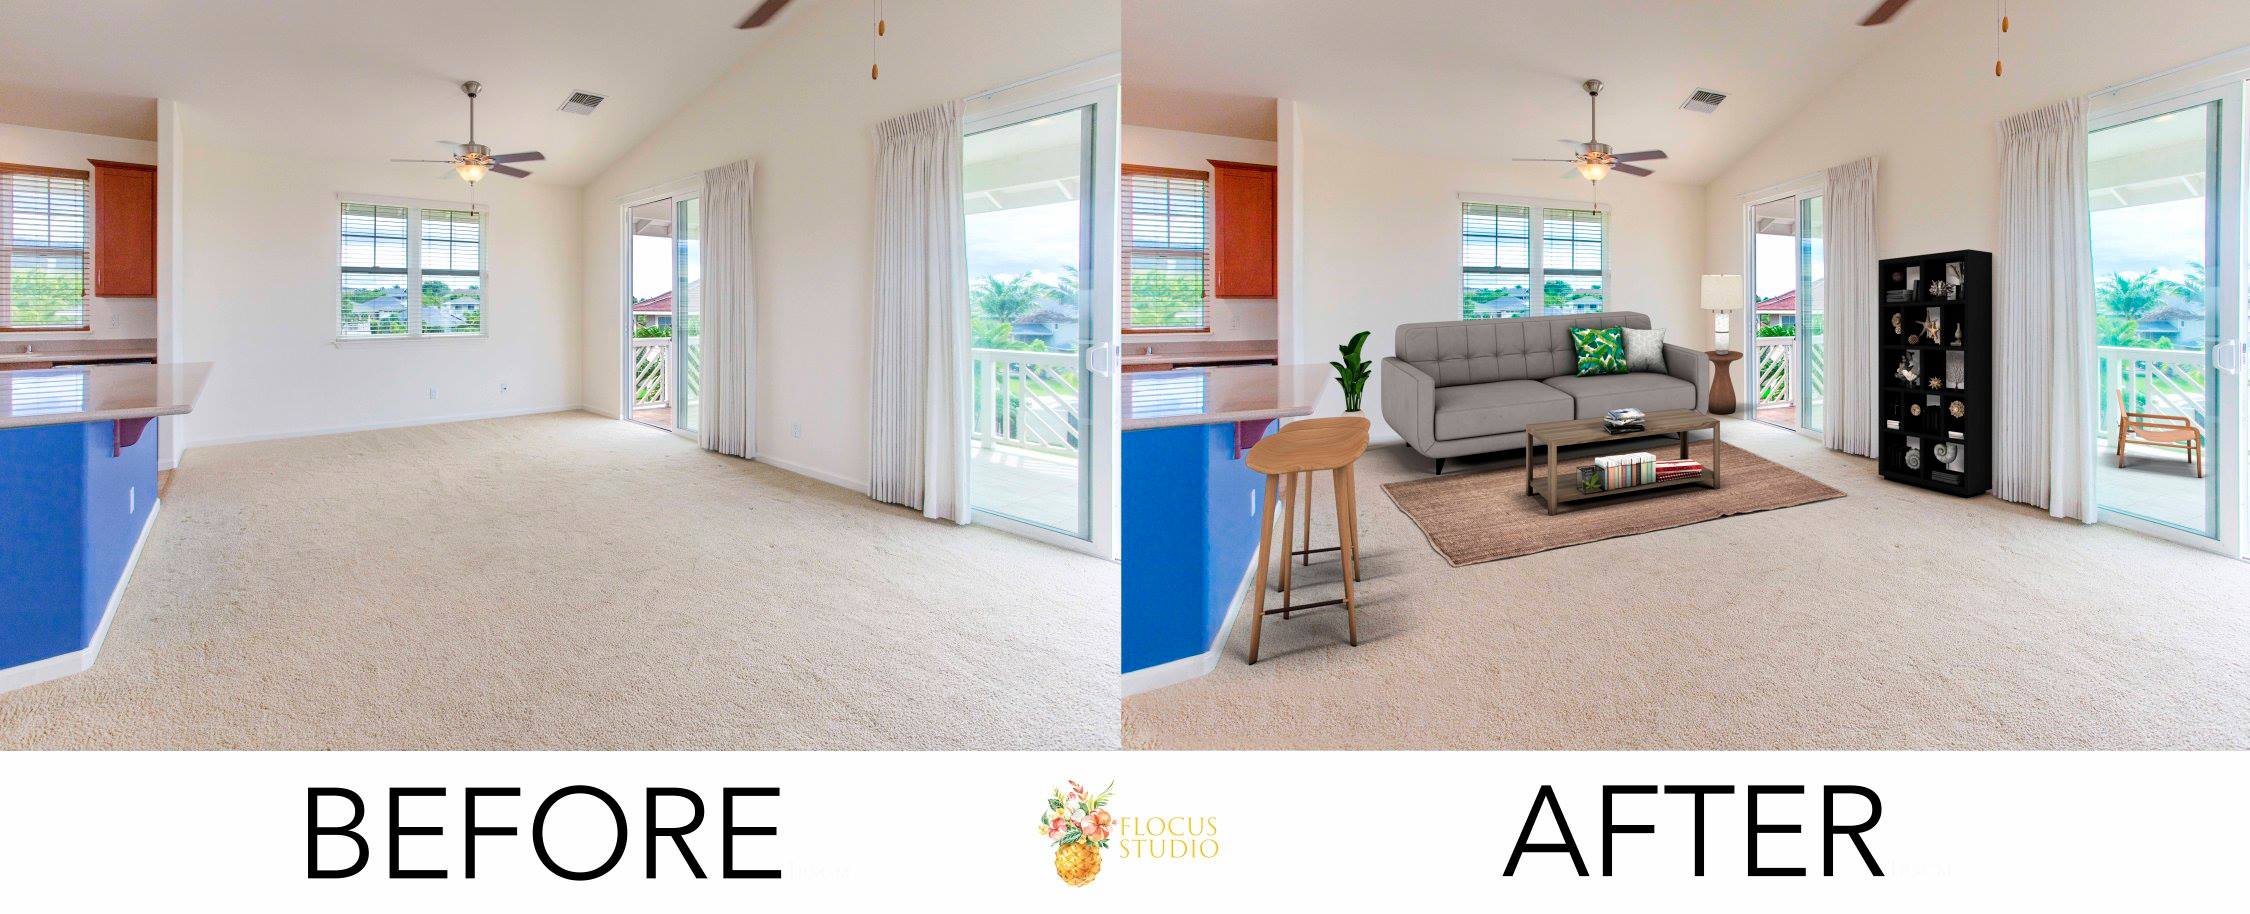
Empty room is less appealing in pictures and viewer have less point of reference of room size and function. Depending on your budget, you can consider hiring a staging company. Or you can also hire a photographer to virtually stage your vacant property:
Apart from staging with furniture, we do recommend adding some Aloha elements in your property especially if it is a vacation rental. Staging with local wine, tropical flowers on the table help viewers envision their Maui Hawaii lifestyle. Colorful faux fruit or fresh pineapple plate could stimulate your buyers taste bud!
Step 5. Meet with your photographer at the property and have pictures taken
Now, you are all set! Let the photographer do his/her job!
Step 6. Receive your images, select the best ones to post on MLS
You want to organize your listing photos in a sequence that tell the story of your property from a user stand point. Remember your main goal is to give your viewer a tour! Your MLS images are basically their first open house visit experience.
Step 7. Celebrate your listing is live and get it sold!!
After your listing is live, you can use the photos to make an announcement on social media and invite buyers to come check it out!
We hope these simple 7 steps can help you successfully plan your listing photoshoot. Here is a simplified version for you and your team to use. Download this simplified checklist for 7 Simple Steps to set up your real estate photoshoot
FLOCUS Studio provides Real Estate Photography service in Maui, Hawaii. We are committed to photograph images that help you sell. Contact us today to know more.
How to tell if your Maui Real Estate Pictures are good enough?
How can you tell if your real estate pictures are good enough? Here are five basic quality check.
There are so many real estate photographers. How can you tell if their pictures are good enough? Here are five basic quality check points:
1. Vertical Lines
When shooting with a wide-angle lens, typically 17-18mm, the image will somehow be distorted. The photographer should be aware of straightening all the vertical lines of the image in post production. Check if the lines in the image are parallel to each other.
Alignment: Make sure the photos are in perfect horizontal axis - Photo by FLOCUS Studio
Below are pictures from the MLS: Distorted images are not very appealing. When shooting from a wide angle view, photographers should avoid objects in the foreground or middle-ground (like back of sofas, coffee tables) and avoid dramatic angles. Shoot more floor than ceiling. The photographs should have a natural look.
2. Vignetting
Vignetting is a reduction of an image's brightness or saturation toward the periphery compared to the image center and it shall not appear in property photos. Vignetting is caused by light hitting the lens aperture at a strong angle - an internal physical obstruction. This effect is often noticed in images taken with wide angle. The photographer shall be able to remove the vignetting effects to give a clear edge of the photos by applying lens correction function. Property photos shall be bright and clear, images with vignetting could appear to be amateur.
3. Multiple exposure
In Maui, the ocean view is a selling point. Simply say, the photos need to highlight the view out from the window. This can only be done by some form of blending multiple exposures. You may have heard of HDR technology. It stands for High Dynamic Range which means in a final image it balances off all the lights from the brightest window spot to the darkest shadows. You can tell if this technique is being used or not simply looking at photos that have big windows. Is the interior look too dark and the window is overexposed? Check out our other blog post about photo quality.
All of your interior images showing a window should be bracketed. 3 shots of bracketing images.
When the property was properly lit, you could see the interior and external views very clearly and evenly lit.
4. Height of tripod
Tripod shall be used in shooting interior photos. It shall be set at medium height to avoid any axis distortion. We suggest setting the camera on a perfect horizontal axis 1m20-1m (about hip height to chest height). Your photographer shall make sure to shoot on perfect horizontal axis and avoid shooting too low or too high.
5. The right file size and enough amount of photos
Your listing site requires specific photo file size. Your photographer shall be resizing the image to meet your specifications instead of sending you random sizes and leave it to you to adjust the files. Maui Hawaii MLS listing allow up to 50 images. If your photographer is providing too many duplicates of similar angles, you simply won’t have much choice to pick through the photos. Ideally, you want to have some interior photos and surrounding complex images as well as beach photos if a beach is nearby.
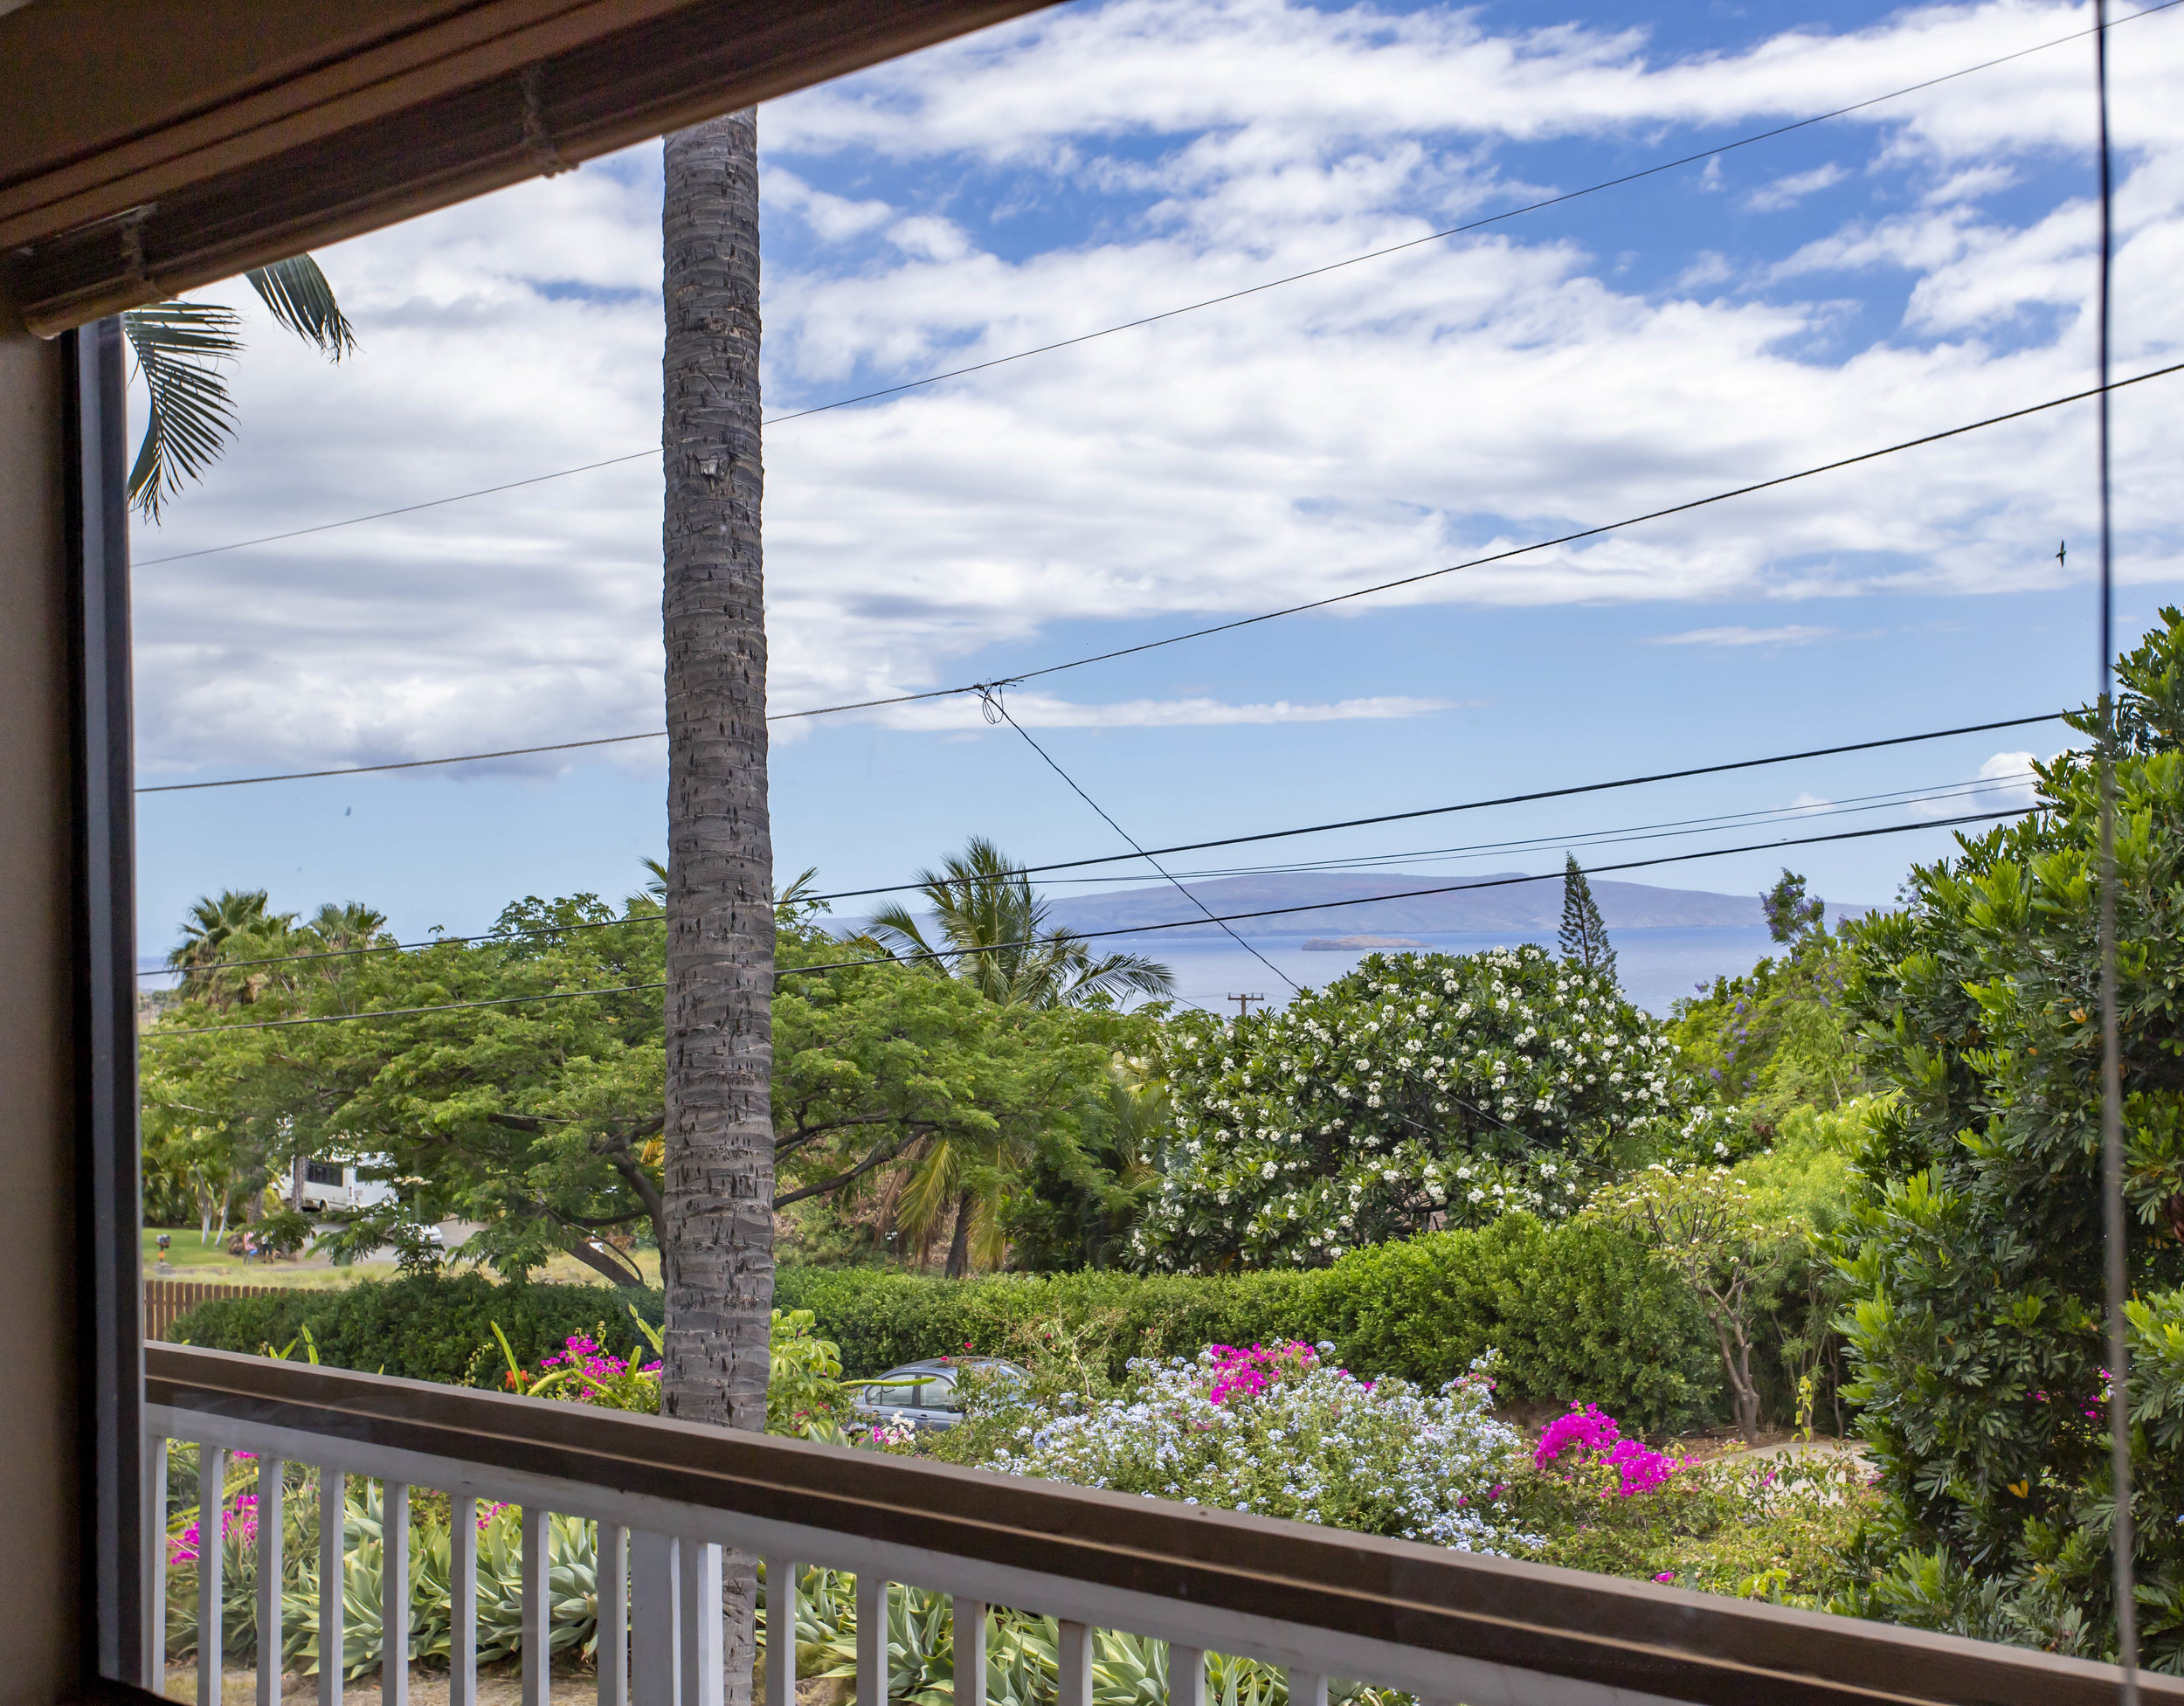
Show off the ocean views as much as possible from different angles. Photo by FLOCUS Studio
Highlighting the views and lighting.
Photo by FLOCUS Studio
3 different angles of each bedroom
3 images for kitchen
3 images of living room
at least 2 photos of bathroom
at least 2 photos of the house or condominium exterior
2 images of garage / washer-dryer features
2 images of yard
1 image highlighting the view
5-6 images of condo complex facilities and nearby beach
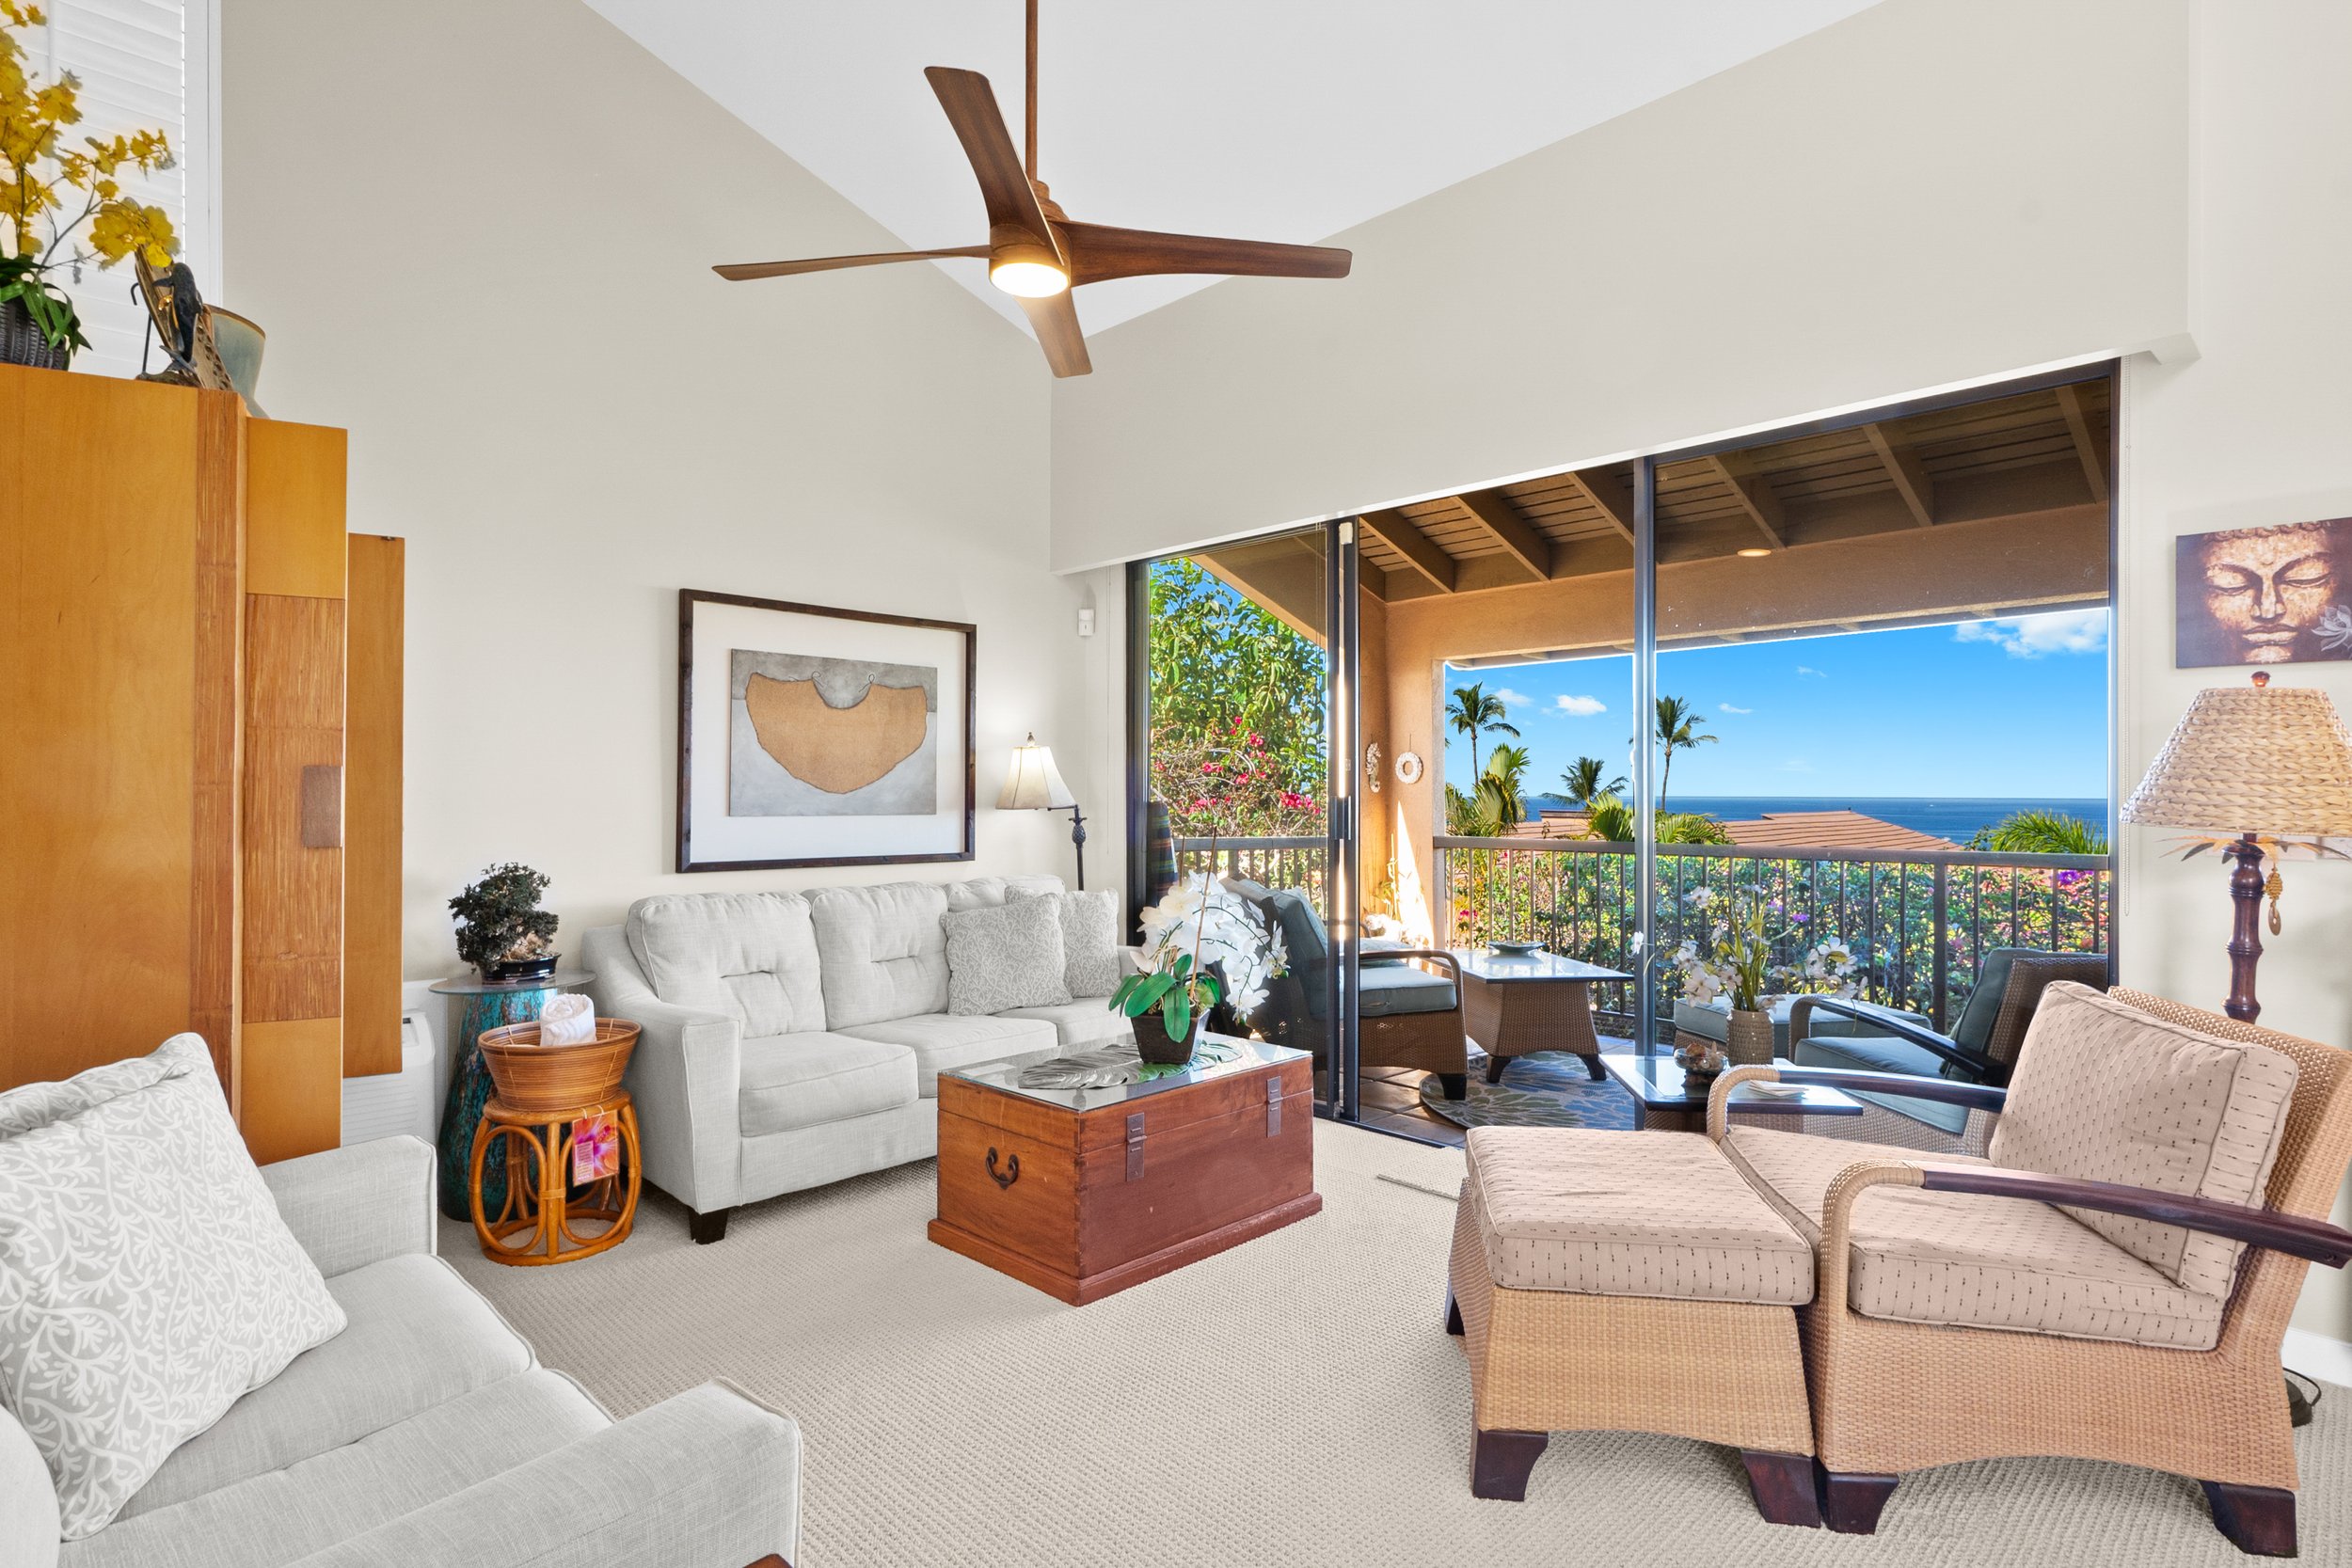
Showing the views from Lanai.
Photo by FLOCUS Studio
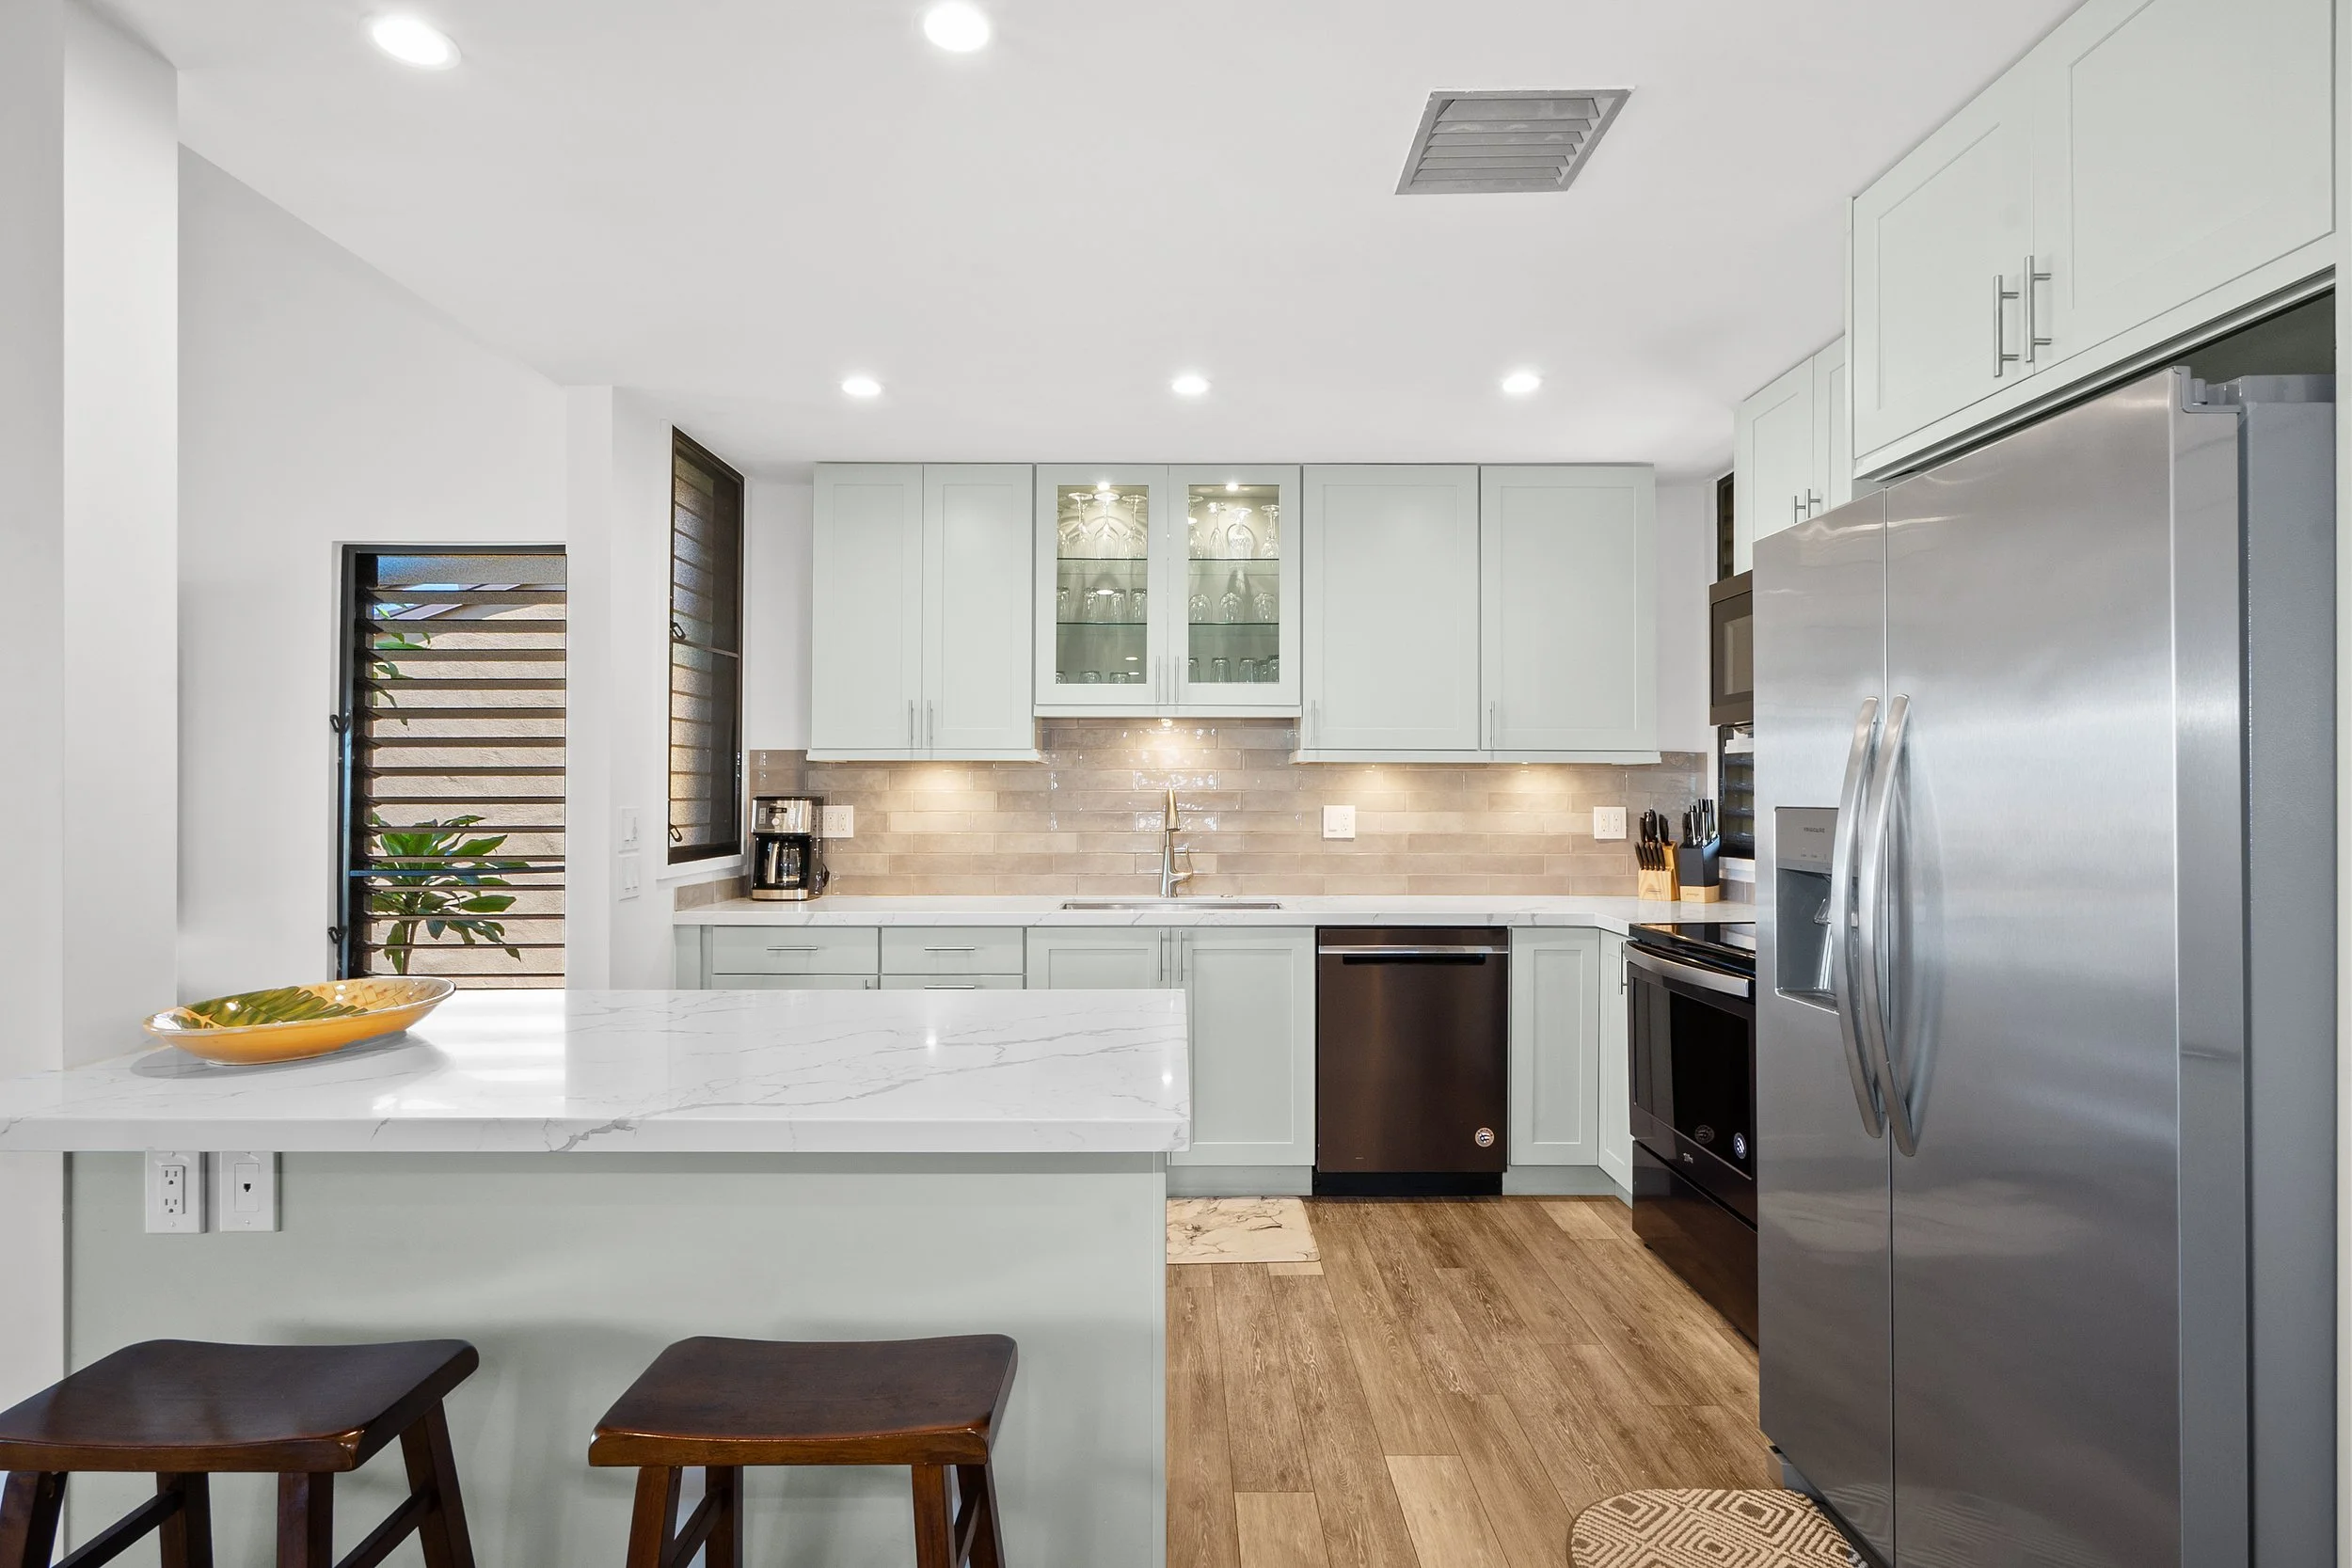
Showing the kitchen island.
Photo by FLOCUS Studio
Among all of the images, you want to pick out a cover image as your listing first image. It has to be the most eye catching image that shows off the selling point of your property.
These are some of the basic elements for a quality real estate photoshoot. Check out your existing listing photos now and see if they have met these criteria. If you are not sure if your photos are professionally taken or not, send us a link, we will provide complimentary review of your listing photos and suggestions.
Check out our Real Estate Photography Service or Contact Us for a quote.
Why Use a Professional Real Estate Photographer for Your Maui Hawaii Property
Why Use a Professional Real Estate Photographer for Your Maui Hawaii Property?Check out these shocking stats about Real Estate Photography.
It might seem obvious that good photography and videography are critical for your success as a real estate professional. It is even so when you are trying to sell your Maui property to investors who are in the mainland and make their decisions based on your listing photos.
When you dig into the numbers, just how much of an impact good visuals make borders on shocking. Check out some of these stats:
Homes with high quality photography sell 32 percent faster.
Homes with more photos sell faster, too. A home with one photo spends an average 70 days on the market, but a home with 20 photos spends 32 days on the market.
For homes in the $200,000 to $1 million range, those that include high-quality photography in their listings sell for $3,000-$11,000 more.
As time goes on, and equipment and tools become better and more sophisticated, online platforms become more robust, good property photos invite buyers.
In its resource reference document for members on the topic, the National Association of REALTORS® (NAR) points out that:
87% of homebuyers who searched for a home on the internet found photos to be among the most useful features of REALTOR® websites. Digital photography and virtual tours allow REALTORS® to serve their clients like never before. Digital images can quickly and professionally showcase a listing, and today’s technologically savvy clients appreciate the convenience of a virtual tour for both long distance and local moves.
Connect with consumers in a fast-paced digital world by setting yourself apart and grabbing their attention instantly.
Check out our Real Estate Photography Service .
Bonus:
Looking for Vacation Rentals in Hawaii for your next trip? Check out HawaiiGaga.com to learn about the tips to travel to the Hawaiian Islands and find out more where would be the best place to stay!
It is important to show off the ocean view.
The above information is referenced from RISMedia.com and images are by Flocus Studio.


